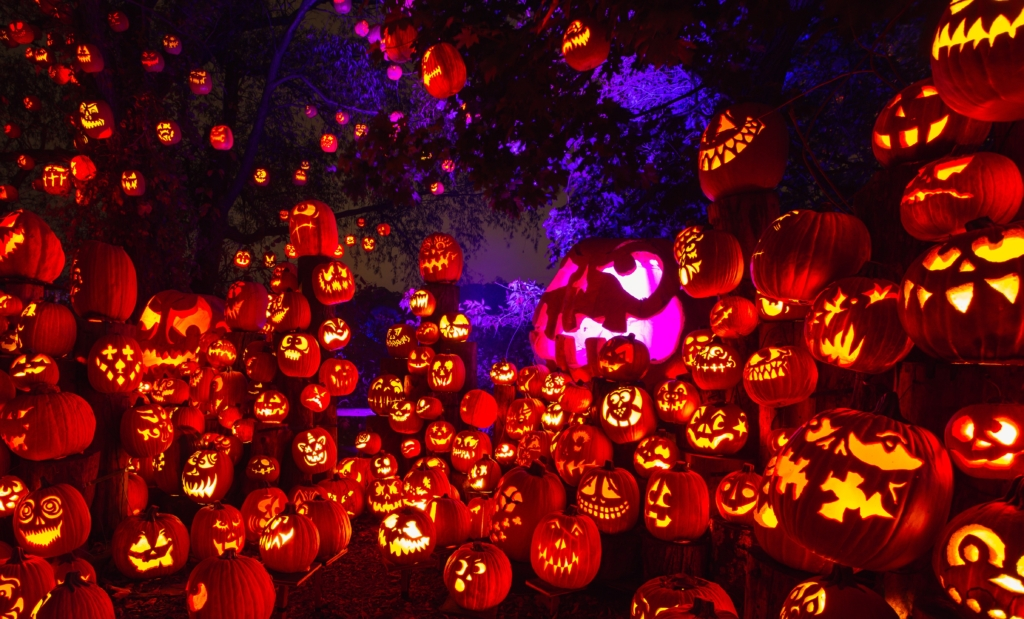
Gatlinburg pumpkin carving is a beloved tradition, if you’ve ever wandered the town in fall, you’ve seen pumpkins turned into pure works of art. The Smoky Mountain Harvest Festival definitely knows how to put on a show, after all. The good news? You don’t need promises of a prize ribbon to pull off something just as fun. A little Smokies inspiration is all it takes to carve a pumpkin that’s ready for its own spotlight. Here’s what you need to know.
Where to Pick Pumpkins in the Smokies
Want to carve your perfect jack o’ lantern? Then, you’re going to need a pumpkin worthy of your time and effort. Thankfully, you have several spots to consider near Gatlinburg. And many of them come with all the fall extras, like hayrides and corn mazes.
- Kyker Farms (Sept 27 – Oct 30): Home of the famous “Kornfusing” corn mazes plus leisurely hayrides, a pumpkin patch, and plenty of fall fun for everyone
- Oakes Farm (Sept 20 – Nov 2): Packed with incredibly fun play areas, imaginative pumpkin patch photo ops, and their must-try apple cider slush
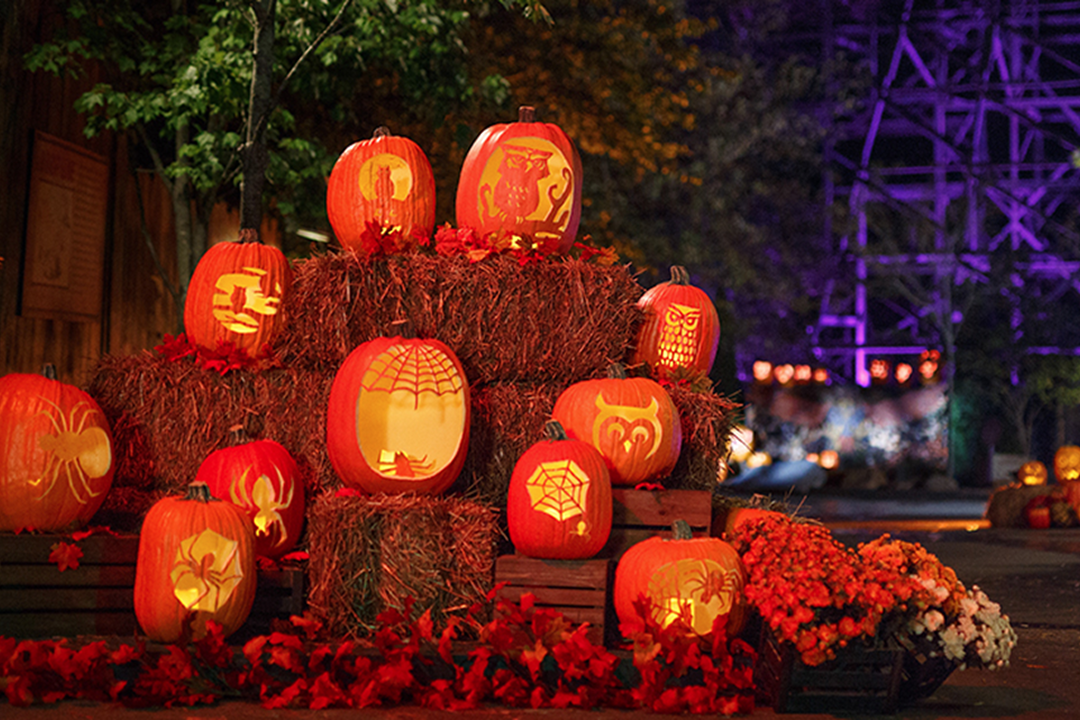
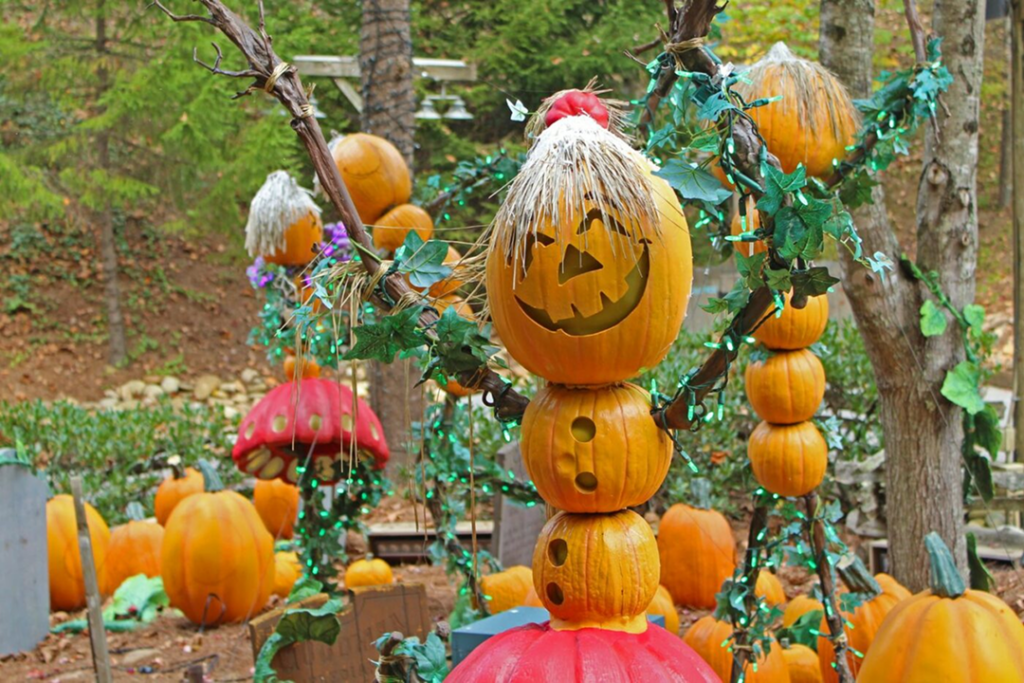
- Ober Mountain (Sept 20 – Nov 3): Go for the pumpkins (an Ober fall festival exclusive), then stay for the inspiration as pro carvers transform 1,000-pound gourds into true works of art
- Darnell Farms (Year-round): Known for super tasty DreamWhips, a mile-long hayride, and fresh-off-the-farm pumpkins galore
Prefer something quick? The Gatlinburg Farmers Market (Every Saturday 8:30 am to noon through October 18th) offers locally grown pumpkins right in town.
The Essential Pumpkin Carving Toolkit
All the best pumpkin carvers know one thing: A well-stocked toolkit is the real secret to carving greatness. You can either buy a pumpkin carving toolkit from the store or build your own using what you have at home.
Either way, here’s what to have on hand.
- Large serrated knife
- Ice cream scoop
- Small detail saw
- Poking tool (like a nail or wood skewer)
- Etcher (like a linoleum cutter)
- Large bowl
- Dry erase marker
- Paper towels
- Trash bag
- LED tea lights
Want your creation to survive until the very last leaf falls? Slather a little petroleum jelly on all the carved edges. It seals in moisture and keeps your jack-o’-lantern looking fresh all season long.
Fun Gatlinburg Jack O’ Lantern Ideas

Want to take your Gatlinburg pumpkin carving to the next level? Here’s some local inspiration to spark your creativity. You can do just that by bringing a little piece of the Smokies to your front porch. These ideas are packed with local charm and are way more fun than your average spooky face.
Black Bear
To really channel the spirit of the Smokies, go with a black bear design. You could carve the full bear face for maximum “aww” factor. Or keep it super mysterious with a simple bear silhouette. Either way, add some tiny stars all around your bear, and boom, you’ve got instant mountain magic.
Dollywood Express
If you’d like to choo-choo your way to pumpkin fame, you cannot go wrong with the Dollywood Express. Start by carving out the iconic 110-ton steam engine, and then add some puffy smoke clouds overhead. Feeling really ambitious? Add a few train cars wrapping around the side of the pumpkin.
Smoky Mountain Skyline
Want to capture a million-dollar mountain view without leaving your house? Sketch out a few layers of the rolling peaks across the Smoky Mountain skyline. Then, kick it up a notch by adding a flowing full moon rising behind the mountains and a few tiny pine trees dotting the slopes.
Great Horned Owl
What’s a little bit mysterious and a whole lot more magical? The great horned owl, and it can give your pumpkin an enchanting, woodland vibe. Go all out with big, bright eyes, a fierce beak, and those iconic pointed tufts standing tall. Or embrace the minimalist route with a perched silhouette.
Space Needle Outline
It’s time to put the Gatlinburg Space Needle right on your front porch. And it’s surprisingly easy to carve, too. Just create a tall, sleek tower shape with an observation deck near the top. Add some dots all around to mimic twinkling lights, and suddenly your pumpkin looks like it belongs right on the strip.
Log Cabin Scene
Bring your Gatlinburg getaway home with a warm, glowing log cabin scene. To begin, carve the cabin silhouette. Then, add soft light in the windows, a winding path to the door, and scatter a few trees around the edges. It’s the perfect way to relive those dreamy cabin nights in the Smokies.
Falling leaves
Love leaf peeping in Gatlinburg every single year? Pay homage to your autumn adventures by carving the beautiful scene into your pumpkin. For the best results, layer different leaf shapes, like oak, birch, and maple. Have some of the leaves cut fully through the pumpkin while etching others for a soft, glowing effect.
Steps to Carving the Best Gatlinburg Pumpkin
Let’s get this pumpkin party started. Whether you’re tackling your very first jack-o’-lantern or want to level up your carving game, follow these steps to create truly memorable designs.
1. Prep Your Pumpkin and Workspace
Find a bright, comfy spot to work, like by a sunny window or under your best lamp. Next, rinse your pumpkin, pat it dry, and grab your carving toolkit. You’re almost ready to go.
But before you start carving, be sure to cover your work surface with newspaper or painter’s plastic. A cheap plastic tablecloth could work, too. Things are about to get wonderfully messy, so it’s smart to think ahead.
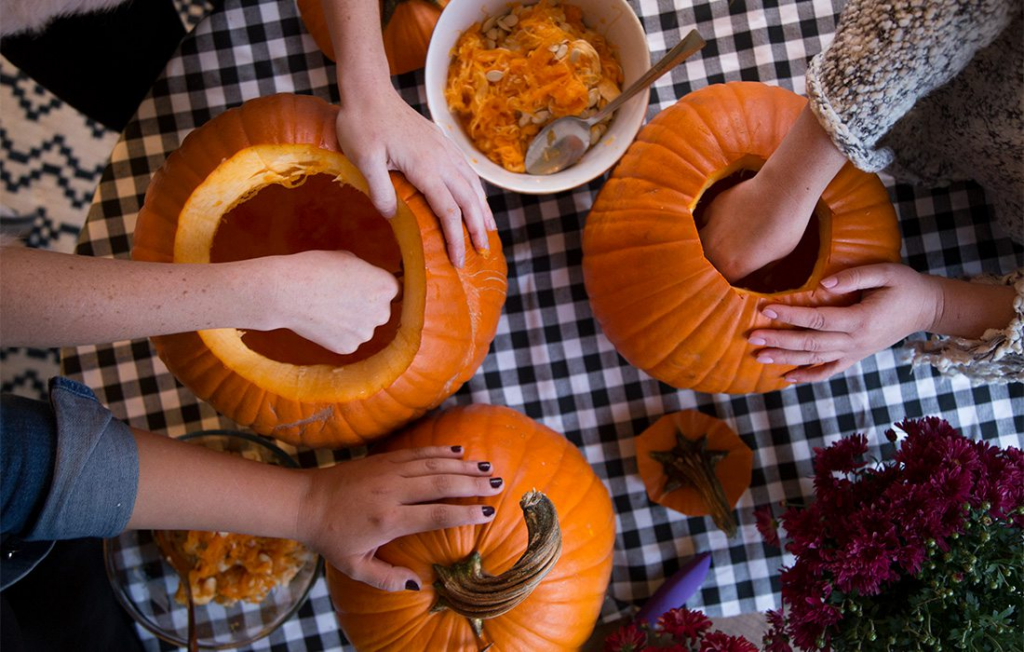
2. Scoop Out the Pumpkin Guts
Grab the serrated knife from your toolkit and cut a wide, angled lid around the stem. Go for at least a 45-degree angle to ensure the lid doesn’t fall in later.
Then, take the ice cream scoop and go to town on the pumpkin innards. Place all the guts in the bowl as you work, so you can collect, clean, and roast the seeds later.
Keep scraping the walls until they’re about an inch thick. You want them thin enough for light to shine through, but not so thin your pumpkin caves in. Wipe down the outside of your pumpkin before moving onto the next step.
3. Sketch Your Gatlinburg Design
Now, you can start sketching out your favorite Gatlinburg-inspired design. Use a dry erase marker to lightly draw your creation right on the pumpkin. If you make a mistake, just wipe it away with a damp paper towel and start fresh.
Try color coding your lines to make cutting out your design easier. Use one color for the areas you’ll cut all the way through and another for sections you’ll just shave or etch. For example, you might draw your cabin design in black, then use a lighter color to mark glowing windows.
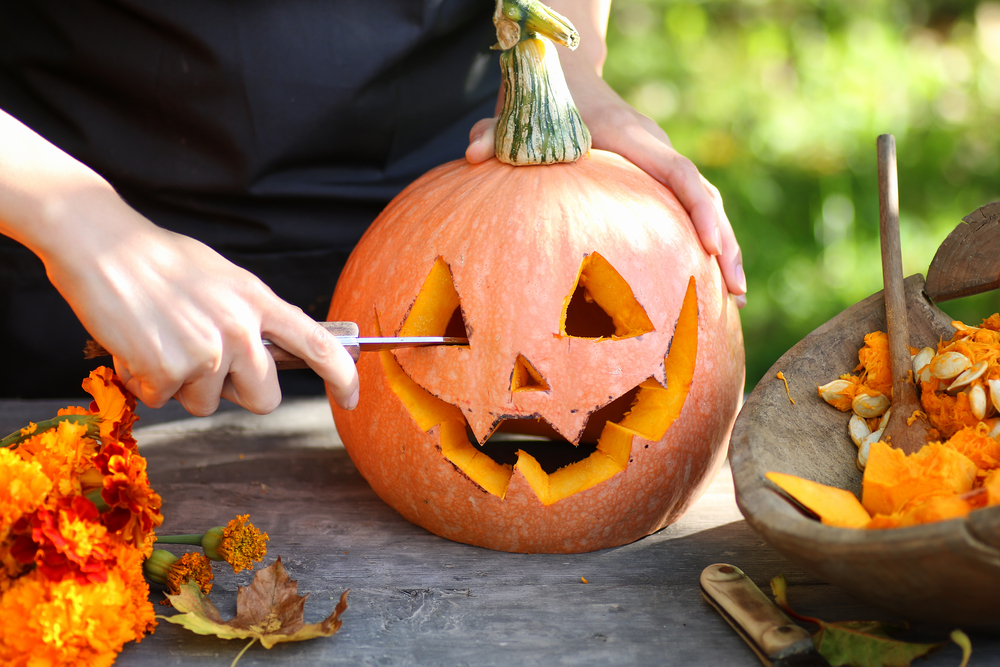
4. Carve Out the Large Shapes
Now, you’re ready to cut out the largest sections of your design. Use a serrated knife and work slowly with a gentle sawing motion. Cut from the center out to avoid breaks. Also, support the remaining sections with your free hand as you push the carved pieces out.
5. Add the Finishing Touches
With the main parts removed, switch to the detail saw, poking tool, and etcher. Use the detail saw to cut out the little shapes, smooth rough edges, and clean up any corners on your bigger cuts.
Grab the etcher to add a gentle glow instead of a full cut. Then, finish it all off with the poking tool for tiny extras, like stars twinkling around the Space Needle.
Now you’re ready to pop in an LED light and watch your Gatlinburg masterpiece light up the night. Whether it’s perched on your porch or part of a big Harvest Festival display, your pumpkin is ready for its moment to shine.
Let Your Gatlinburg Pumpkin Carving Adventures Begin
And just like that, you’re officially ready to transform any ordinary pumpkin into a genuine Gatlinburg showstopper. You’ve got the best pumpkin picking spots, the right tools for the job, and designs ideas for all ages. So, roll up your sleeves and prepare to carve up some serious mountain magic because your pumpkin masterpiece is waiting. Whether you’re crafting something spooky or sweet, Gatlinburg pumpkin carving is the perfect way to celebrate fall in the Smokies.